REVIEW · MADRID
Madrid: Retiro Park Guided Tour with a Photographer
Book on GetYourGuide →Operated by Fan Of Tours · Bookable on GetYourGuide
Retiro Park looks different through a camera lens. This guided photo tour through Madrid’s Retiro Park mixes quick history stops with photographer-led photo coaching, so the 2.5 to 3 hours feels like sightseeing plus real results for your photos.
I like the way you get both context and composition: you’ll hear what makes Retiro what it is, then you’ll get timed pauses at photo points so you can actually frame a shot (not just walk by). I also like that guides are comfortable explaining Madrid from the outside-in; guides like Jovan have a knack for sharing practical city tips too, including food and drink suggestions. One drawback to consider: the “pro” help is about guidance and angles, not you handing over your camera, so bring your own phone or camera and be ready to follow instructions.
In This Review
- Key Things You’ll Do in Retiro Park Photo Tour
- Meet at Retiro’s Entrance: The Fan Sign and a Quick Start
- Alcala Gate to the First Viewpoint: Getting Your Bearings and Your Shot Plan
- Gardens, Fountains, and Photo-Friendly Paths That Make People Photos Work
- Small Stops, Big Results: Viewpoints and Quick “Stop-Count” Photo Pauses
- Wildlife Time: Peacock Habitat Area and Wildlife Viewing
- The Café Break and Free Time: Reset Without Losing the Plot
- Final Photo Stops: Scenic Views and a Straightforward Wrap-Up
- Price and Value: What $29 Really Buys in Retiro Park
- What to Bring, What Not to Do, and How to Get the Most Photos
- Who This Retiro Photo Tour Is Best For (and Who Should Skip It)
- Should You Book This Retiro Park Photographer-Guided Tour?
- FAQ
- Where is the meeting point for the tour?
- How long is the guided tour?
- What language is the tour guide?
- What should I bring for the photo tour?
- Does the tour include breaks or free time?
- Is it suitable for wheelchair users?
Key Things You’ll Do in Retiro Park Photo Tour
- Start with orientation at Plaza de la Independencia and roll right into the park’s main entry experience
- Stop at Alcala Gate for a short, useful introduction before you go deeper
- Pause at multiple viewpoints where you can reset your framing and shoot at a relaxed pace
- Work through rose gardens, peacock habitats, and fountain areas with photography in mind
- Get coached for both “scenery shots” and photos of you with clear, phone-friendly direction
- Include a mid-tour local café break plus free time to breathe and re-check your shots
Meet at Retiro’s Entrance: The Fan Sign and a Quick Start
You’ll meet at the Retiro Park entrance, with the guide waiting for you holding a fan. That little detail matters on a big day in Madrid, because it helps you spot the right group fast and get moving instead of wandering the perimeter.
The tour kicks off near Plaza de la Independencia, then heads toward the park entry area. Expect a short orientation moment, not a lecture—this is built for people who want to walk, learn, and photograph without feeling stuck in one spot.
If you’re the type who likes to arrive early and figure things out on your own, you’ll still appreciate this start. It gives you a simple route flow so the park doesn’t feel like a maze once the paths start multiplying.
You can also read our reviews of more guided tours in Madrid
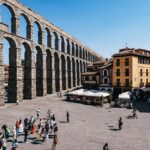
Alcala Gate to the First Viewpoint: Getting Your Bearings and Your Shot Plan
The first stop is Alcala Gate, with about 10 minutes of sightseeing as you enter. This isn’t just “look at the gate and move on.” It’s the moment where you learn what to notice as you go—light direction, sightlines, and where the park’s layout makes photos easier.
Then you shift on foot and reach a view point photo stop (about 10 minutes). This kind of pause is practical. You’re not racing to the next corner; you’re given time to adjust distance, angle, and composition.
Here’s the real value: early in the walk, you get a feel for how the guide wants you to think. Even if you only catch part of it, you’ll start spotting better frames for the rest of the tour—especially for wide shots and for placing yourself in the scene.
If you’re hoping to photograph motion (joggers, people strolling, the flow of the paths), this early framing practice also helps. You’ll leave with a more “shooting mindset,” not just a list of places.
Gardens, Fountains, and Photo-Friendly Paths That Make People Photos Work
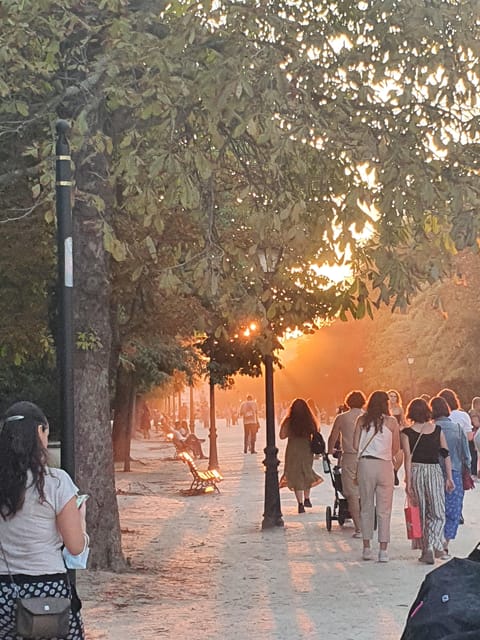
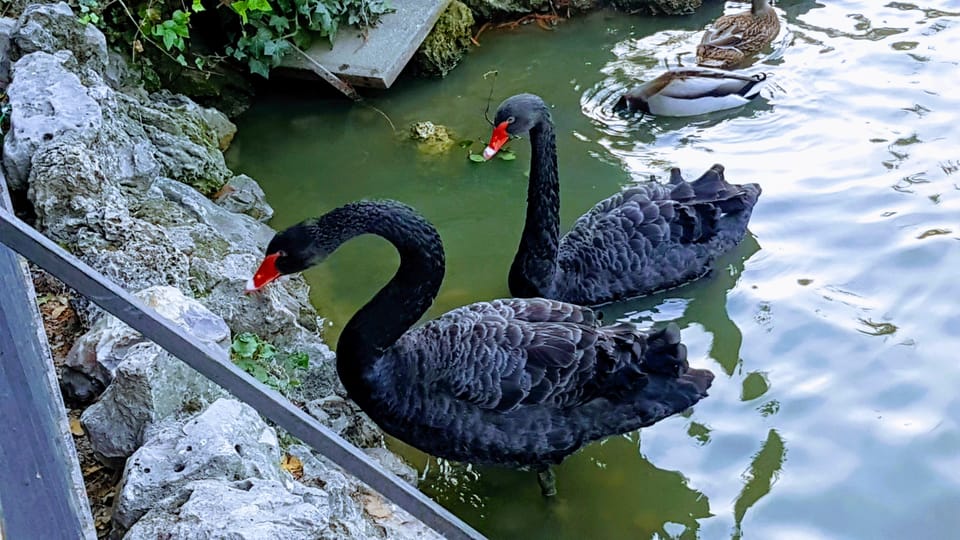
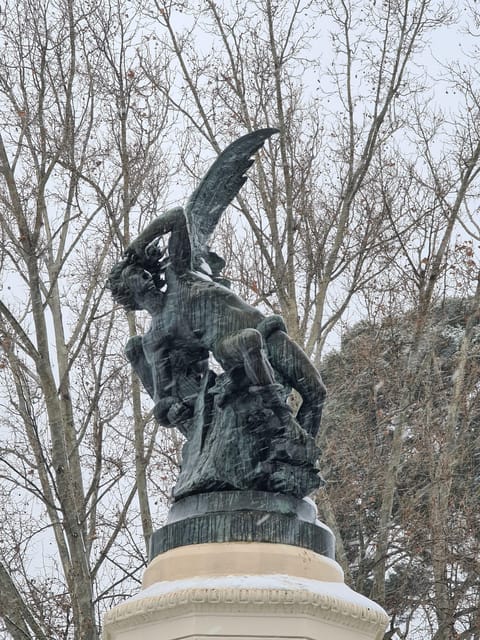
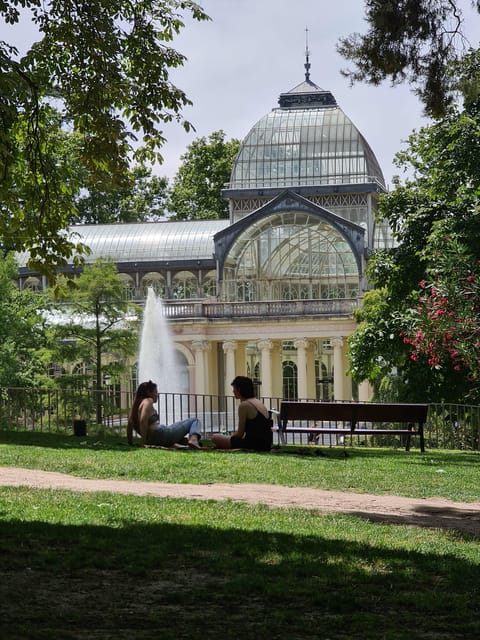
Retiro’s strength is variety, and this tour uses that. You’ll pass through areas centered on rose gardens, peacock habitat zones, and fountain areas—including fountains referenced with the name Lucifer. You don’t need deep prior knowledge to enjoy it; the guide’s job is to point out what to watch for and when to aim.
A few itinerary blocks later, you’ll hit a short hidden corner visit (around 5 minutes). These short stops are designed for photos that look effortless. Often the most flattering frames are the ones that aren’t the most obvious, and that’s where the guide’s route choices help.
Then comes another stretch on foot and a secret photo stop (about 10 minutes). This is where you’ll likely see the “photographer problem” solved. You want pictures that look intentional, but you also want to relax. The coaching helps you do both by focusing on simple changes: where you stand, how you angle your camera, and how you include the background without it taking over.
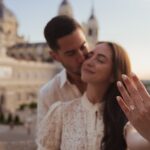
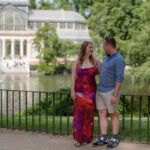
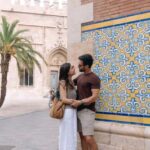
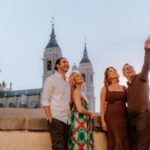
One of the best parts from past guests is that the photo guidance isn’t limited to scenery. The goal is to help you get shots of you too, not only postcard views. If you’re traveling with a phone and no tripod, you’ll still get real direction for how to make it work.
Small Stops, Big Results: Viewpoints and Quick “Stop-Count” Photo Pauses
As the walk continues, the itinerary repeats a pattern on purpose: walk a bit, then pause for a viewpoint photo stop. You’ll see this at a point with another 10-minute photo stop and sightseeing, plus additional viewpoint blocks near the end.
Why this matters: Retiro can look busy even when you’re not right in front of the crowds. If you only stop when you feel inspired, you’ll miss the “window” where the light and people traffic are best for your composition. With these timed photo pauses, you spend your effort where it counts.
There are also short “visit” moments tied to quieter spots—5 minutes here, 10 minutes there. They aren’t long enough to turn into a hike or a detour, but they’re long enough for you to take photos from a couple angles and then move on without feeling stuck.
A practical tip: wear shoes you can walk in for a while. Even though the tour includes pauses, the overall rhythm is steady. If you arrive with stiff, uncomfortable footwear, you’ll feel it by the time you’re doing that second or third viewpoint stop.
Wildlife Time: Peacock Habitat Area and Wildlife Viewing
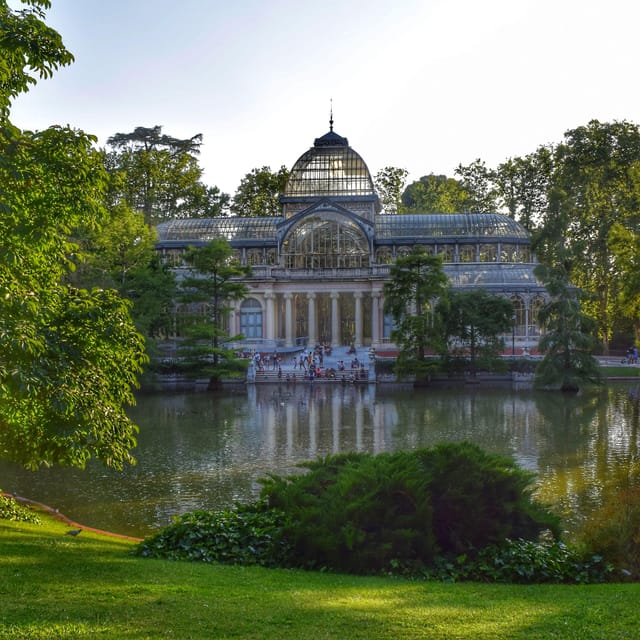
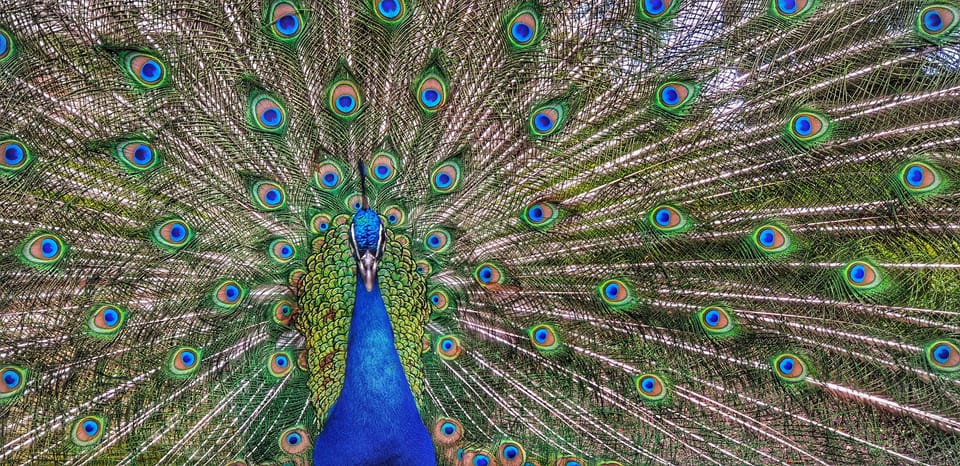
One of the most distinctive parts of Retiro is that it feels like a park designed for both art and living nature. You’ll work in time for wildlife viewing, and part of what you’ll focus on is the peacock habitat areas mentioned in the tour description.
There’s a section with a secret photo stop that also includes wildlife viewing (around 10 minutes). Expect that the guide will help you photograph without turning it into chaos. You’re not supposed to touch plants, and you don’t want to crowd animals. The best photos here usually come from calm distance and patience.
This is also a good moment to switch from “scenery” mode to “story” mode. Instead of photographing only wide views, you’ll likely capture the kind of detail that makes Retiro feel uniquely Madrid—people, pathways, and animals sharing the same green space.
If you’re using your phone, keep an eye on focus. A quick tap and a slight change in distance can be the difference between a soft blur and a crisp, keep-it-forever photo.
You can also read our reviews of more photography tours in Madrid


The Café Break and Free Time: Reset Without Losing the Plot
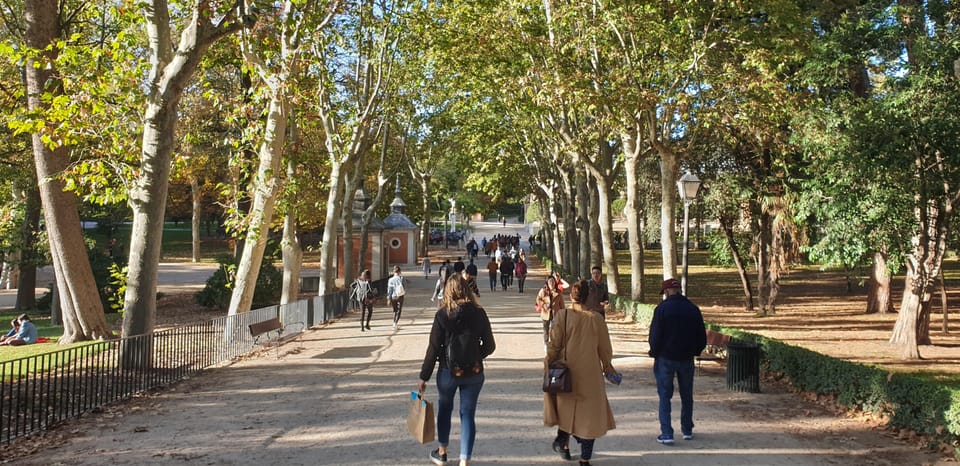
About mid-tour, you’ll get a local café break with free time (around 15 minutes). This is a genuine reset, not a forced “sit for an hour” situation.
Use the break smartly:
- hydrate if you need it
- check your photos and delete the obvious misses
- glance back at the best composition you liked so you can try it again later
You’ll also have short stretches of free time built into other blocks. That matters because photo tours can feel repetitive if every second is scheduled. Here, you get enough pause to review and plan, while still having the guide’s route keeping you from wandering aimlessly.
If you’re worried about speed, this is where you’ll feel the tour stays balanced. It moves, but it doesn’t bulldoze.
Final Photo Stops: Scenic Views and a Straightforward Wrap-Up
Near the end, you’ll hit more secret photo stops and view point moments, including a final viewpoint segment with scenic views on the way. The idea is to finish with images that look like you really meant to be there—wide shots, plus one or two compositions that include you in the frame.
There’s a final sequence with a viewpoint stop and sightseeing, plus another run of walk-and-pause moments (including a longer photo-oriented stop of about 15 minutes). That length is intentional. It gives you time to choose your favorites, tweak angles, and stop worrying about the next corner.
If you’ve been shooting the whole time, this final stretch is where your photos improve most. Early mistakes become useful learning. Later frames start looking cleaner because you’re already thinking in terms of background control and subject placement.
Before you leave, make sure you’re done charging your device. Phone batteries drop faster in sun and with camera use than people expect.
Price and Value: What $29 Really Buys in Retiro Park
At $29 per person for roughly 2.5 hours (the duration is listed as 3 hours depending on start time), you’re paying for a mix that’s harder to assemble on your own:
- a structured walk through the park with stops that matter
- history and nature context while you’re already sightseeing
- photographer-style tips for better photos, including ways to get shots of you
The value pops if you’re a first-time Madrid visitor who also wants practical guidance. Past experiences with guides like Jovan show that the chat often includes useful Madrid extras, like restaurant and tapas ideas, and even help finding your way back to the metro. That’s the kind of add-on that turns a photo tour into a mini welcome.
Is it “worth it” if you already know Retiro well and just want a photo route list? Maybe not. But if you want someone to steer you through the park with a camera mindset, it’s a strong deal.
Also, you can travel light. The essentials are comfortable shoes, your camera or phone, sunscreen, and water. The tour doesn’t ask you to bring gear you don’t already have.
What to Bring, What Not to Do, and How to Get the Most Photos
Bring:
- comfortable shoes
- camera (phone is fine if that’s your setup)
- sunscreen
- water
Don’t do:
- smoking
- littering
- touching plants
One small planning move that pays off: set your camera ready before each viewpoint stop. Even if you’re not technical, you’ll still shoot better if you’re not fumbling with menus while the best light disappears.
Also, the tour is English and has a live tour guide. If your Spanish is limited, that’s a real comfort. You can focus on composition and history without guessing what’s being said.
Who This Retiro Photo Tour Is Best For (and Who Should Skip It)
This is a great fit for:
- you want a calm, organized way to see Retiro’s highlights
- you care about photo viewpoints and want help making images look intentional
- you like learning a bit about history while you walk
- you want your photos to include you, not only empty scenery
It may not be the best fit if:
- you need a fully seated experience, because the tour is walk-based
- you have mobility impairments or use a wheelchair—the information provided says it’s not suitable for wheelchair users, even though it’s also marked wheelchair accessible
- you dislike following direction during photo moments
If you’re on the edge because of mobility, I’d ask the provider questions before booking. The written notes conflict, so it’s smart to confirm what will work for your situation.
Should You Book This Retiro Park Photographer-Guided Tour?
If you want a park tour that actually helps your photos, book it. For the price, you get a structured Retiro route, history context, and photographer-led guidance at multiple viewpoints, including time for you to shoot and reset at a café.
I’d also say this is especially worth it if you’re new to Madrid and you’d like practical guidance beyond the park. When your guide’s tips include where to eat and how to get around, the tour earns its place as a smart first-day activity.
Skip it only if you prefer to wander without instruction or you already know the park so well that you just need a self-guided checklist. Otherwise, this is a friendly way to see Retiro with a camera mindset and leave with better memories than just photos of benches.
FAQ
Where is the meeting point for the tour?
You’ll meet at the entrance of Retiro Park. The guide will be waiting with a fan.
How long is the guided tour?
The tour is listed as 2.5 hours, and the overall duration is shown as 3 hours depending on the starting time you choose.
What language is the tour guide?
The live tour guide speaks English.
What should I bring for the photo tour?
Bring comfortable shoes, a camera, sunscreen, and water.
Does the tour include breaks or free time?
Yes. The itinerary includes free time blocks and a local café break of about 15 minutes, plus other short free-time periods.
Is it suitable for wheelchair users?
The information provided says the tour is marked wheelchair accessible, but it also states it is not suitable for wheelchair users. If you have mobility needs, contact the provider before booking to confirm what will work.