REVIEW · MADRID
InstaSpots: tour of the most photographable spots in Madrid
Book on GetYourGuide →Operated by Madrid con guía · Bookable on GetYourGuide
Madrid is made for pictures.
This InstaSpots tour is a tight 2.5-hour hit of the capital’s most camera-friendly spots, with a guide nudging you toward the best angles while sharing bite-size context. I especially like that you’re not just sightseeing—you get help setting up your phone or camera, and you leave with exact locations you can tag and share. One thing to consider: it’s built around photo stops and walking, so if you want long museum time or lots of breaks, this is not that kind of tour.
The second big win for me is the lineup. You’ll work through Puerta de Alcalá, Gran Vía, Puerta del Sol, Plaza Mayor, and more, so your first day in Madrid doesn’t turn into a chaotic scavenger hunt. In reviews, one guide name comes up—Marta—and the theme is consistent: warm, attentive guidance with practical recommendations so you know what to do next in the city.
The main drawback is simple: there’s no professional photographer, and there are no shopping detours. You’ll be the one taking the photos, so you’ll want a fully charged phone or a real camera, and comfortable shoes for a steady pace.
In This Review
- Key highlights to look for
- A Madrid Photo Walk Built for Your Phone and Your Feet
- The 2.5-Hour Route: From Puerta de Alcalá to Templo de Debod
- Meeting at Puerta de Alcalá: Easy to Find, Easy to Start
- Stop-by-Stop: What Each Photo Stop Gives You
- Alcala Gate (Puerta de Alcalá): Your First Real Frame
- Cibeles Fountain: The Classic Madrid Backdrop
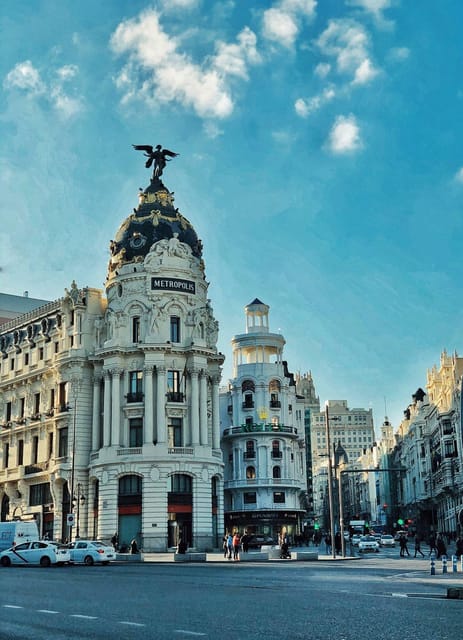
- Gran Vía: Practice Your Street-Photo Framing
- Puerta del Sol: The “I’m Actually in Madrid” Shot
- Plaza Mayor: A Place That Rewards Being Intentional
- Palacio Madrid: The Photo-Stop Payoff
- Temple of Debod (Templo de Debod): Finish with a Strong Closing Shot
- The Guide Factor: Why This Feels Like Madrid With a Friend
- What You Get (and What You Don’t) Before You Book
- Price and Value: $176 per Group Up to 10
- Who This Tour Suits (and Who Should Think Twice)
- A Quick Self-Check Before You Go
- Should You Book InstaSpots Madrid?
- FAQ
- How long is the InstaSpots tour of Madrid?
- Where do we meet for the tour?
- Which photo stops are included?
- Do I need to bring a camera or phone?
- Is there a professional photographer?
- Is the tour wheelchair accessible?
Key highlights to look for
- You set the camera: the guide helps with where to stand and how to frame shots.
- Exact stop locations sent to you: easier tagging, sharing, and planning later.
- A focused route across the most emblematic photo backdrops in central Madrid.
- Brief, guide-led context at each stop so pictures come with meaning.
- Small-group feel (private or small groups available) without the long waits.
A Madrid Photo Walk Built for Your Phone and Your Feet
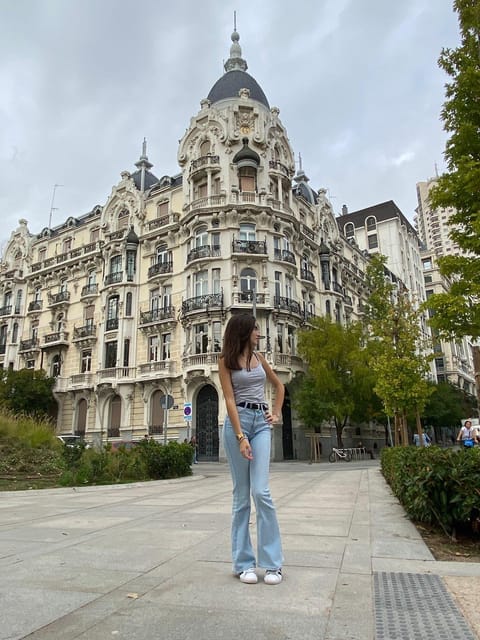
If you’re the type who wants your Madrid photos to look like they belong in a travel feed—not like evidence you were, in fact, in Madrid—this tour is designed for you. The whole experience is centered on photography stops. That means you’re not stuck in a lecture. You’re moving, framing, and learning just enough to make the shots feel purposeful.
I also like the structure. You start near Puerta de Alcalá (at the Retiro Park entrance), then progress through a sequence of landmarks that are instantly recognizable on any Madrid map. By the end, you’ve covered a lot of ground without turning the day into a sprint. The tour is about 2.5 hours, and while the stops are frequent, you’ll still walk roughly 70 minutes total during the experience.
There’s one more practical detail I appreciate: the tour doesn’t promise professional photo results. You’re doing the shooting. That’s empowering if you like taking control of your images—but it also means you should come ready with your own camera/phone and some basic comfort walking.
You can also read our reviews of more tours and experiences in Madrid.

The 2.5-Hour Route: From Puerta de Alcalá to Templo de Debod
The itinerary is straightforward, with a clear start and a clean finish. You’ll visit a series of iconic places for photo stops, plus short guided explanations. The tour includes:
- Alcala Gate (Puerta de Alcalá): photo stop plus visit/sightseeing and walking
- Cibeles Fountain
- Gran Vía
- Puerta del Sol
- Plaza Mayor
- Palacio Madrid
- Temple of Debod
- Finish at Templo de Debod
That ending matters more than it sounds. Temple of Debod is the last stop, so you’re not scrambling at the finish line to get your final good shots. You can focus on packing your memory cards and planning what you’ll do next that evening or the next day.
Also, there are no shopping breaks. If you’ve ever been dragged through a tour day by detours that don’t match what you paid for, you’ll probably appreciate the clean flow here: the time stays with the sights and your photos.
Meeting at Puerta de Alcalá: Easy to Find, Easy to Start
You meet at the entrance to Retiro Park, in front of Puerta de Alcalá. You’ll know the group because the guides carry accreditation as Official Guides and a Madrid flag for quick recognition.
This matters for two reasons. First, you’re starting at a major landmark, so you can orient yourself fast. Second, the meeting point sets the tone: this tour is meant for your first day planning and your first photo set.
If you choose pickup, it’s optional and agreed in a central Madrid meeting point. That can help if you’re staying a bit outside the center.
Stop-by-Stop: What Each Photo Stop Gives You
Alcala Gate (Puerta de Alcalá): Your First Real Frame
This is your launchpad. At the start, the guide helps you settle in, then you move through a photo stop plus visit/guided tour/sightseeing in the area around Puerta de Alcalá. It’s a smart first stop because it gives you an immediate win: a strong landmark, lots of visual material for framing, and a starting point that makes the rest of the route feel connected.
One practical tip: because the tour is focused on photography, you’ll do best if you treat this like a warm-up—get comfortable with your phone settings (or camera mode), check battery, and make sure you’re ready to shoot on the move.
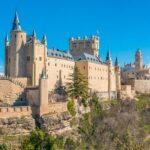
Cibeles Fountain: The Classic Madrid Backdrop
Next comes Cibeles Fountain. This is one of those places where your photos can swing from “nice postcard” to “wow” depending on angle and timing. Here’s where the tour’s biggest promise becomes real: the guide offers a brief description of the site and sends you to the exact location, so you can return later or replicate the shot.
Even if you don’t consider yourself a photographer, this help is the difference between random shots and images you’ll actually want to share.
Gran Vía: Practice Your Street-Photo Framing
Then you’re in Gran Vía. This stop is ideal if you like city-energy photos—wide views, strong lines, and built environments that look great on a phone.
A key thing I’d plan for: street areas can mean more variation in lighting and foot traffic than you might get at a quieter viewpoint. Since the tour doesn’t include pauses for long rests or shopping stops, you’ll want to move at the pace of the group and be ready when the guide points you to the spot.
Puerta del Sol: The “I’m Actually in Madrid” Shot
Puerta del Sol is a must-hit on any quick Madrid visit, and it works well in a photography-focused tour because it’s packed with visual cues that instantly read as Madrid.
The guide’s role here is simple but valuable: you get brief site context and you’re guided to where to stand so your photos make sense visually. And because you receive the exact locations for each stop, you’ll have an easier time finding the same spot again later—especially helpful if you want to return in different light.
Plaza Mayor: A Place That Rewards Being Intentional
Plaza Mayor is where your photos start to feel more “composed.” The guide’s quick explanations help you take pictures with intention instead of just aiming at something that looks pretty.
Because the tour is focused on photography rather than long stays, you’ll want to think like this: one or two strong angles beat ten mediocre ones. If you keep your expectations tight, Plaza Mayor becomes a highlight rather than a rushed stop.
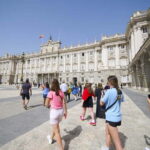
Palacio Madrid: The Photo-Stop Payoff
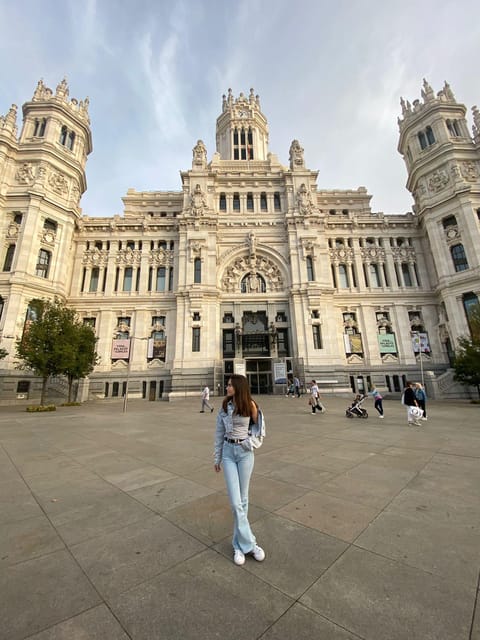
You’ll also stop at Palacio Madrid. This is another one of those backdrops that benefits from the guide’s direction. The difference is that the tour isn’t trying to be slow or encyclopedic. It’s trying to get you to a strong spot, help you frame the shot, and keep you moving to the next landmark.
If you like photographing architecture, this is where you’ll probably feel that the tour is doing what it promised: giving you the location and the setup, so you can do the rest.
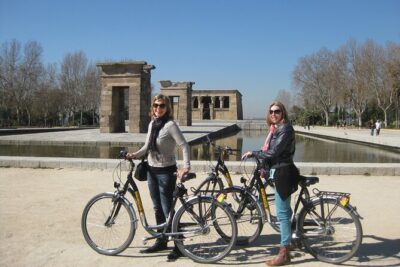
Temple of Debod (Templo de Debod): Finish with a Strong Closing Shot
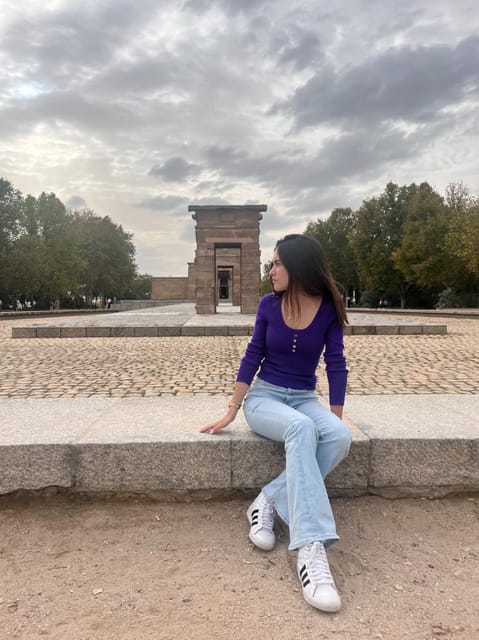
The day ends at Templo de Debod, with a photo stop before finishing there. I like finishing with a stop that feels like an ending rather than just another “check it off” location. It gives you a natural wrap-up moment for your best images.
Also, because this is your final stop, it’s a good chance to clear your head. You’ll know the pattern by now: the guide points you to the best area, you shoot, you get the location information for sharing, and you move on when the tour concludes.
The Guide Factor: Why This Feels Like Madrid With a Friend
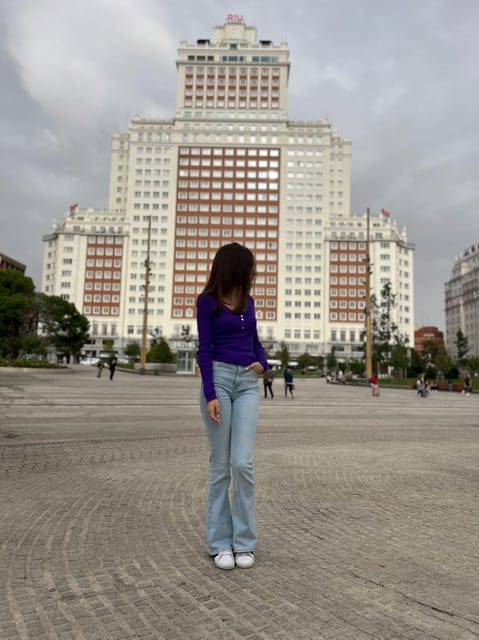
The tour is built around the guide’s ability to help you get better photos without turning it into a technical workshop. From what’s been shared, guides tend to be friendly and attentive, and the experience feels like a guided walk with someone who actually wants you to succeed with your pictures.
One specific guide name shows up in feedback: Marta. The praise is about charisma, receptiveness, and being the kind of person who offers recommendations beyond the basic route. That lines up with the tour structure: you get brief explanations, you get pushed to the exact spots, and then you’re set up with locations to keep sharing after you’re done.
The best part is that you’re not waiting around. The tour gives you a rhythm: brief context, photo stop, framing help, move to the next iconic location.
What You Get (and What You Don’t) Before You Book
Included:
- Brief explanation of the places you visit
- Photo stops at emblematic locations
- Exact location details sent to you
Not included:
- A camera for you
- A professional photographer
- Shopping detours or breaks
So yes, you need to bring your own gear. But that doesn’t mean you’re on your own. The tour’s photography focus is meant to improve your odds quickly. If you come prepared—with a fully charged smartphone or camera and comfortable shoes—you’ll get a lot more out of each stop.
Price and Value: $176 per Group Up to 10
Pricing is listed at $176 per group up to 10 for about 2.5 hours. The value depends on one thing: how many people are in your group.
If you’re a small group or a couple, per-person cost may feel higher than a solo walking tour. But the trade-off is that you get guided photo stops and the added benefit of receiving the exact locations for sharing. That is the kind of detail that makes the tour feel useful even after you leave.
If you’re traveling with friends or family, this price can be a smart move because the group cost stays capped while you split it. And since the tour is about photographing multiple major landmarks in a short window, it can save you time and reduce the stress of trying to plan an efficient route on your own.
Who This Tour Suits (and Who Should Think Twice)
This tour is a great fit if:
- You have limited time in Madrid and want a concentrated route of well-known sights
- You care about making photos you’ll actually post or print
- You like having a guide who gives quick context instead of long lectures
- You want a straightforward first-day plan that helps you map out the rest of your trip
It might be less ideal if:
- You hate walking. Even though it’s only about 70 minutes of walking, it’s still constant movement between stops.
- You want a museum-style experience or long downtime at each location.
- You’re hoping for someone else to take the photos for you. This tour is not a professional-photo service.
For wheelchair access: it’s listed as wheelchair accessible, which can be a deciding factor if you need a route that supports mobility needs.
A Quick Self-Check Before You Go
You’ll get the most from this tour if you plan for the photography element:
- Bring comfortable shoes for a moving day
- Bring your camera or a charged smartphone
- Keep your battery topped up so you can shoot at multiple stops without panic
Also, the tour rules are clear: no intoxication, no alcohol or drugs, no littering, no unaccompanied minors, and no touching plants. It’s a straightforward, respectful setup for a public-photo day.
Should You Book InstaSpots Madrid?
Book this tour if you want a guided, photo-first route that hits major Madrid landmarks in a short amount of time. The biggest reason to book is the combo: help framing your shots plus exact location sharing afterward. That makes it useful for both your trip and your future posts.
Skip it if your main goal is slow sightseeing, shopping stops, or getting professional photos. This is for people who want to take the camera into their own hands and learn where to stand.
If your schedule is flexible, there’s free cancellation up to 24 hours in advance and a reserve-and-pay-later option listed. That makes it easier to try without locking yourself in too early.
FAQ
How long is the InstaSpots tour of Madrid?
It lasts about 2.5 hours.
Where do we meet for the tour?
You meet at the entrance to Retiro Park, in front of Puerta de Alcalá.
Which photo stops are included?
The tour includes photo stops at Puerta de Alcalá, Cibeles Fountain, Gran Vía, Puerta del Sol, Plaza Mayor, Palacio Madrid, and Temple of Debod (Templo de Debod).
Do I need to bring a camera or phone?
Yes. You should bring a camera or a smartphone with a full battery. The tour is focused on photography, and you take the pictures.
Is there a professional photographer?
No. There is no professional photographer included.
Is the tour wheelchair accessible?
Yes, it is listed as wheelchair accessible.